
Ok, if you’re not familiar with the Basque region of France, you’re not alone…

Before leaving on a trip to Orlando, Florida for a post-Easter vacation, I picked up a lovely baking magazine called BAKE FROM SCRATCH — this particular copy was the French Issue. It was a little pricey for a magazine but it looked to have a lot of good stuff in it. I found this recipe on page 73 in particular and decided to make it for my husband’s family, whom we were visiting. It’s how I show family that I care… I cook for them! 🙂


Anyway – back to Basque…
This little region in southwestern France is right along the border with Spain, along the Bay of Biscay. It is known for its unique history, rolling countryside hills, and of course the region touts its own language.

The Gateau Basque in this case, literally means Basque Cake, or House Cake. This was a common cake of the house, although it is anything but common, ordinary, or easy in my book. This complicated beautiful piece of pastry was quite an art to make, as well as a time suck. If you are wanting to dive head first into French baking, give yourself plenty of this: TIME. Oh, and eggs. This recipe calls for a ton of eggs!
So buckle up, and get ready to be challenged with creating this densely rich, creamy, crunchy, thick, gooey, delightful French cake!

I am just dipping my finger into French baking, and I can tell you that the water is fine!

This is literally copied from the magazine’s description:
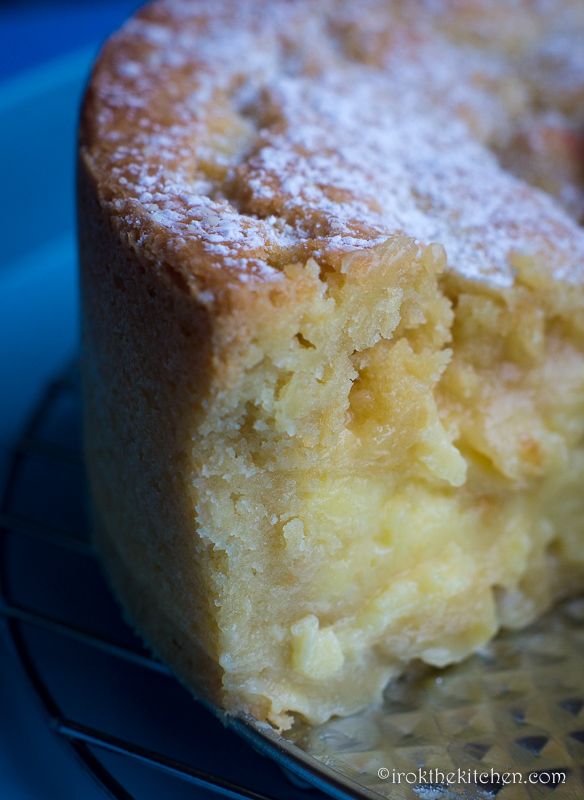
“A flaky crust surrounds a pastry cream in this traditional dessert from the Basque region of France. The name is French and means simply, “Basque Cake.” In the Basque language, the cake is called “Etxeko biskotxa” or, “cake of the house.”
Time dedication: About 4 hours +
You Will Need:
The recipe called for a 9 inch springform pan, but I only had an 8.5 inch. It still turned out fine- maybe just a pinch taller than the recipe called for 😉
Wooden spoons
Electric hand-held mixer
2 Medium mixing bowls
2 Large mixing bowl
Rolling pin
Plastic wrap
Cooking spray
Fork or whisk
Medium cooking pot
Pastry Brush
Food scale *optional
Ingredients:
3 1/4 cups all-purpose flour
1 1/2 Tablespoons baking powder
1 1/2 teaspoons kosher salt
1 cup unsalted butter
2 cups sugar
3 large egg yolks
3 large eggs, divided
1 Tablespoon water
Confectioner’s sugar
Custard filling (recipe to follow) – MAKE THIS FIRST!
*makes about 2 cups
2 1/4 cups whole milk
1 vanilla bean, split lengthwise, seeds scraped and reserved
1/2 cup sugar
1/2 cup cornstarch
3 Tablespoons all-purpose flour
6 large egg yolks
2 large eggs
Directions for custard:
- In a medium saucepan, heat the milk and vanilla bean seeds over medium heat.
- In a medium mixing bowl, whisk together the sugar, cornstarch, flour, egg yolks and eggs. Whisk the hot milk mixture into sugar mixture. Return combined mixture to saucepan, and cook over medium heat, whisking constantly, until bubbling and very thick. (About 5 minutes)
- Remove from heat. Transfer to a large bowl and cover with with plastic wrap.
- Let cool to room temperature – about 1 hour.
While custard is cooling- make the cake!
Directions for cake:
- In a medium bowl, combine flour, baking powder, and salt. Set aside.
- In a large bowl, beat the butter and sugar with a mixer at medium speed until light and fluffy. (About 3 minutes)
- Add egg yolks and 2 eggs, beating until well combined. Reduce the mixer speed to low and granular beat in the flour mixture.
- Turn out the dough onto a flat surface and split and shape into 2 disks. Make sure each disk is as closely equal in size as possible. Weight them if you can to make sure. Wrap each disk in plastic wrap and refrigerate until firm. At least 1 hour.
- Spray a 9 inch springform pan with baking spray and lightly dust with flour.
- Remove dough disks from refrigerator.
- On a lightly floured surface, roll out 1 piece of dough into a 12 inch circle. I stress that this dough will be stretched thin pretty easily so don’t get frustrated. If it gets to be too thin, chill it a little longer and try again. It takes PRACTICE!!!
- Transfer this dough to the prepared pan and press into the bottom and up the sides. You’re essentially creating the bottom of your cake. Refrigerate again for at least 30 minutes.
- Remove chilled crust from fridge and pour the custard filling into the pan. Refrigerate again for at least 30 minutes.
- Remove the remaining disk of dough from the fridge and roll out into another 12 inch circle. Place this piece over the filling and crimp the edges. Trim excess dough. Refrigerate entire cake for at least 30 minutes.
*Do you see yet why I said bring your patience? This cake will literally take ALL DAY to make!
11. PREHEAT OVEN TO 400º F.
- Beat together remaining egg and 1 Tablespoon of water. Brush top of cake with egg wash.
13. Bake for 20 minutes. Reduce oven temp to 350ºF and bake for an additional 25 minutes.
Cover edges with foil to prevent excess browning.
Remove from oven and allow to cool for at least 30 minutes or longer.
Dust with confectioners’ sugar just before serving!
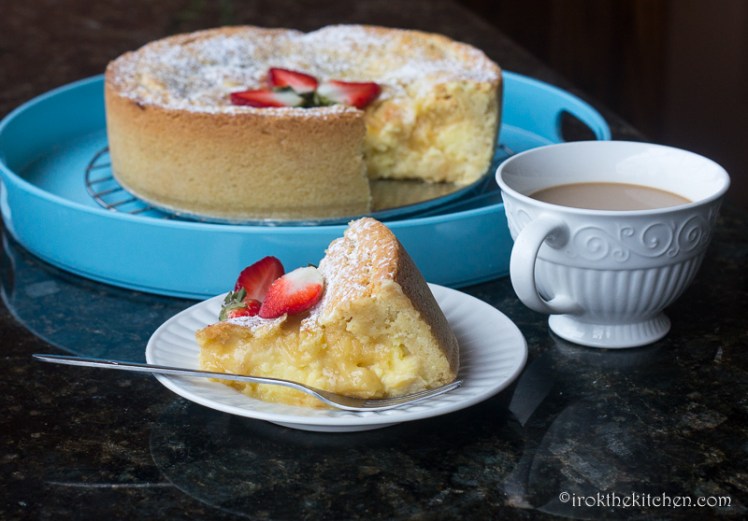
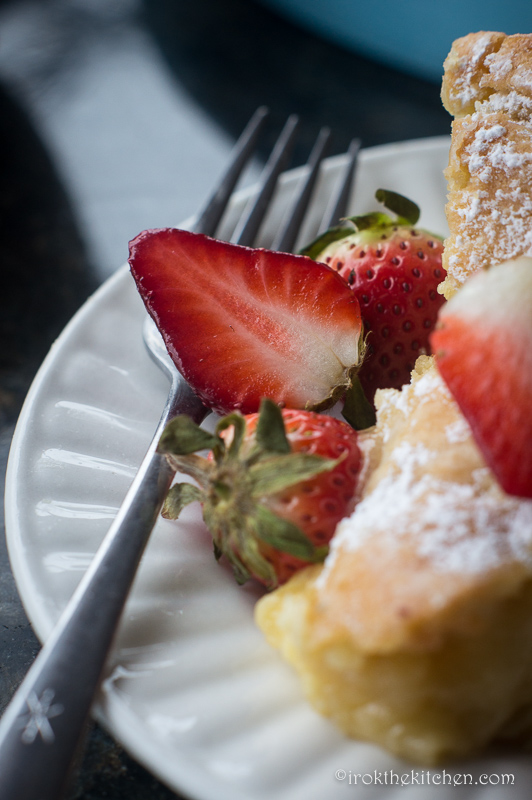
You can also top with any fruit of your choice if you’d like 😉

And viola! You have just made a FRENCH CAKE! WOW! That took a lot of work. Great job.
Now on to the next confectionary challenge….
Just look at that crust!
Until next time!
Enjoy.
-K

I really wish you would learn to write a recipe for the American readership. This recipe is quite confusing as written. It is not in the accepted format. Perhaps you copied it out of that French Magazine? A pity.
LikeLike
I really wish people with letters in front of their name would learn to keep their opinions to themselves on personal blogs. This comment is confusing as written. I will not accept such criticism. Perhaps you copied your attitude from your teachers. A pity.
LikeLike
Bravo!
LikeLike
Love this response!
LikeLike
Really? I made this beautiful cake and had no problem following the recipe. Perhaps you need more practice in the art baking.
LikeLike
I want to make this using 4” springform pans. How should I adjust the cooking time? We had this at a restaurant recently and I can’t wait to make it at home!😋
LikeLike
I haven’t personally done this in 4″ pans, but I would reduce the time and keep checking for color and texture.
Here is a guide that may help!
https://www.foodnetwork.com/recipes/packages/baking-guide/difference-between-metal-and-glass-baking-pans
LikeLike
This is a great recipe. My family is French Basque. No I never made it because someone else always did! Now it’s my turn and I like this recipe better than the family recipe which uses yeast. I’m not leaving my name to protect the guilty…me!! Thank you for the recipe and great comments describing your effort! Merci!!
LikeLike
Hi – question… can i assemble the cake the day before and take out of the refrigerator to cook the next day? Hoping to avoid all the work on a holiday and simply bake and enjoy. Thank you. The cake looks delish.
LikeLike
I haven’t tried it, but it might be worth a go!
LikeLike