
Ok, admittedly, I’ve been very busy this summer, so I apologize for the random times in which I post. I get to it when I get to it!
Now without further ado, I would like to share with you my favorite scones recipe. If you’ve never made scones, don’t worry, they’re very easy. There are, however, a few things you must adhere to (at least the highly recommended parts) if you want them to turn out extra fantastic.

I am sharing this recipe from King Arthur Flour, and it really is very simple, and very good.
A few pointers before you begin. When people say that it doesn’t matter what kind of flour or butter you use when baking–don’t believe them. It DOES matter. I have never had better tasting, and consistent baked products than when I use these two items:
King Arthur brand Flour and Challenge brand butter.
Granted, it costs at least twice as much, but it is worth it. Especially if you plan to share these special treats with your special friends or family.

King Arthur Flour Scones Recipe: http://www.kingarthurflour.com/recipes/scones-recipe
Dough
2 3/4 cups King Arthur Unbleached All-Purpose Flour
1/3 cup sugar
3/4 teaspoon salt
1 tablespoon baking powder
1/2 cup cold butter
1 cup to 2 cups chopped dried fruit, chocolate or other flavored chips, nuts, or a combination, optional
2 large eggs
2 teaspoons vanilla extract or the flavoring of your choice
1/2 cup to 2/3 cup half and half or milk
Topping
2 teaspoons milk
2 tablespoons sparkling white sugar, raw sugar, or cinnamon sugar, optional

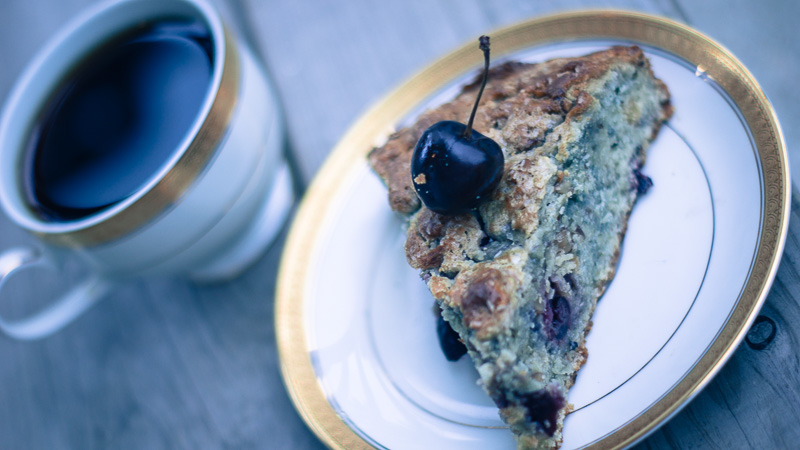
The fruit and nuts I chose for this version were Cherries and almonds, although I have made this same exact recipe with semi-sweet chocolate chips, pecans, and blueberries as well.
For the topping, I just used the rest of the half and half from the dough recipe and it browned the top just as well. I have also used buttermilk in the past. Either works great. But if all you have is plain ol’ milk in the fridge, use it! Also, I didn’t have any raw sugar on hand, so I ‘borrowed’ a few packets from the Starbucks at our local grocery store. Shhhhh….

When they say to start with cold butter— they mean it. I also stuck my batter in the freezer for about 30 minutes before popping it into the oven, as per the bakers’ tips on the website. This will help create a more “holey” dough, as the butter remains solid within the dough, and then quickly melts with the high heat, producing pockets of air inside. Yum!

A few other tips about using cherries and nuts. This might be a no-brainer, but BUY A CHERRY PITTER. It will make your life easier, AND if you did like I did and tore them up by hand, then all of the cherry juice will stain the dough and come out looking almost purple. That’s not a bad thing, but if you want a consistent color with fruit throughout, pit the cherries instead of ripping or cutting them up.

Another no brainer is to check your bag of nut’s expiration date before dumping them into the batter. Taste them. Smell them. If the fat has gone rancid in the nuts, then your whole scone batch will be ruined. I am telling you, when I have tasted rancid nuts, it’s like gasoline…. Not that I’ve ingested gasoline, but…yeah. You know what I mean. So CHECK YOUR NUTS! 😉 The same can happen with chocolate and butter. Or shortening, while I’m at it. Anything with fat can go bad. Also, flour, if stored for a very long time without freezing, can sprout little mill bugs from eggs that were unhatched in the wheat when it was harvested. I have also heard that keeping a few bay leaves in the flour bag will prevent them from hatching, but I can neither deny nor confirm that.
1) In a large mixing bowl, whisk together flour, sugar, salt, & baking powder
2) Work in the butter just until the mixture is unevenly crumbly;
it’s OK for some larger chunks of butter to remain unincorporated.

3) Stir in the fruit, chips, and/or nuts, if you’re using them.

4) In a separate mixing bowl, whisk together the eggs, vanilla or other flavor, and half and half or milk.
5) Add the liquid ingredients to the dry ingredients and stir until all is moistened and holds together.
6) Line a baking sheet with parchment; if you don’t have parchment, just use it without greasing it. Sprinkle a bit of flour atop the parchment or pan.
7) Scrape the dough onto the floured parchment or pan, and divide it in half. Round each half into a 5″ circle (if you haven’t incorporated any add-ins); or a 6″ circle (if you’ve added fruit, nuts, etc.). The circles should be about 3/4″ thick.
8) Brush each circle with milk, and sprinkle with coarse white sparkling sugar or cinnamon sugar, if desired.

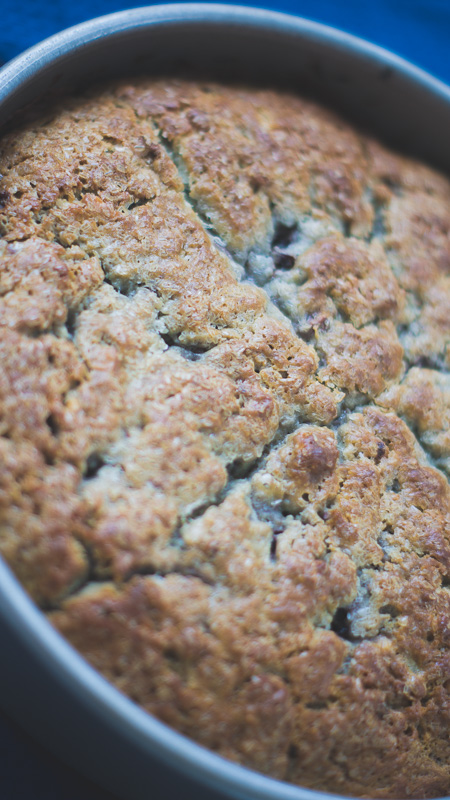
( I cheated and used a round cake pan– this works just as well )
9) Using a knife or bench knife that you’ve run under cold water, slice each circle into 6 wedges.
 10) Carefully pull the wedges away from the center to separate them just a bit; there should be about 1/2″ space between them, at their outer edges.
11) For best texture and highest rise, place the pan of scones in the freezer for 30 minutes, uncovered. While the scones are chilling, preheat the oven to 425°F.
12) Bake the scones for 20 to 25 minutes, or until they’re golden brown. When you pull one away from the others, it should look baked all the way through; the edge shouldn’t look wet or unbaked.
 13) Remove the scones from the oven, and cool briefly on the pan. Serve warm. When they’re completely cool, wrap in plastic and store at room temperature for up to several days.
Now I don’t know about you, but I love to enjoy a good scone with a nice, freshly made French Press of Coffee. The boldest flavor please, and preferably a Kenyan or Haitian coffee–The best coffee pairing regions for berries/cherries. ( I used to work for Starbucks, so it’s ok, I know what I’m talking about ).


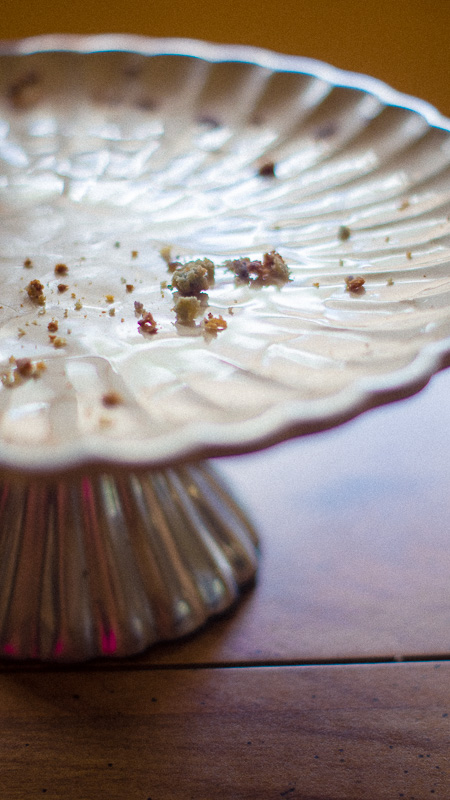
Enjoy! And as always, these scones are so good, you’ll have nothing left but an empty plate.
-K

My spouse and I stumbled over here by a different page and thought I should check
things out. I like what I see so now i’m following you.
Look forward to looking over your web page again.
LikeLike